By: Patrick W. Zimmerman
At Principally Uncertain, we encourage the isolation, cultivation, and harnessing of yeast strains for the Greater Good. We ferment, not to produce delicious nectars which induce cereal-based inebriate fugue states1, but to isolate, cultivate, and magnify, and study microbial species of cultural and commercial significance. It’s merely a series of biological and anthropological studies.
We brew, not for ourselves, but FOR SCIENCE!
As a nice bonus, we get to have fun pronouncing the ridiculous brewers’ vocabulary words like sparge, flocculation (worth 4 points!), lautering, mash tun, and attenuation. Sparge. Just say it; let it roll around in your mouth. Taste the word. Spaaarrrrrrrrrrrrrrrge. Try flocculaaaaation, if you’re into that sort of thing. Now, your day is way more fun, and your mouth is amused at your brain’s credulous acceptance of clearly-made-up words. 2
Test #1: “A Longitudinal Investigation of the Fermentative Properties of Saccharomyces cerevisiae in a Cereal Sugar Suspension.”
In other words, we’ll be whipping up an Oatmeal Porter, using that yeast.
Guide for this beer: about 4 months to drinkability, 7 to full awesomeness. 7-10 days primary fermentation, 6-8 secondary, then 2-4 months bottle conditioning. For heavier beers, it takes longer for them to mellow out and have the flavors blend in the bottle. The patience is worth it.
Remember, boys and girls, this involves an extended, high-temperature series of chemical reactions. Do try this at home.
Brew recipe
You can find the short cut version of this recipe on the greatest repository of knowledge on the entire Interwebs: The Beer Recipator. My brews are titled “Friendship Ales” because a) I started brewing in 2006 when I lived in a neighborhood of Pittsburgh called Friendship and b) I like the connotations of sociability and sharing booze that go with it. They give me warm and fuzzy feelings, just like beer.3
Style: Oatmeal Porter
Type of brew: All-grain
- Batch size: 5.5gal
- Bitterness: 33 IBU
- Original Gravity: 1.056
- Final Gravity: 1.020
- ABV: 5.1%
- Color: 26 SRM (dark as mud at night inside a safe buried underground)
Grain bill:
- American 2-row (pale malts): 6lbs
- American Vienna: 2lbs
- Belgian Biscuit: 2lbs
- American Crystal 60L: 8oz
- Roasted barley: 8oz
- Rolled oats: 8oz
Hops:
- Northern Brewer: 2oz
Boil additives:
- Cocoa Powder: 2oz (8 Tbsp)
- Whirlfloc tablet
Yeast:
Mash volume: 5gal
Mash time: 120 minutes
Boil volume: 6.5gal
Boil time: 60 minutes
Illustrated step-by-step instructions
Step 1 – Prep
Set aside a morning where you’re not planning on doing anything else. Your brew day will be spent making and then cooling off barley tea. Embrace that reality.
Seriously. I’ve been doing this for 10 years, have my process pretty efficient, and it still takes a good 5 hours to get from pitching mash grains to turning off heat on the boil. You can do plenty of other things in the meanwhile,4 but you need to be around to tend to your beer. No, that work can wait; your beer is more important.
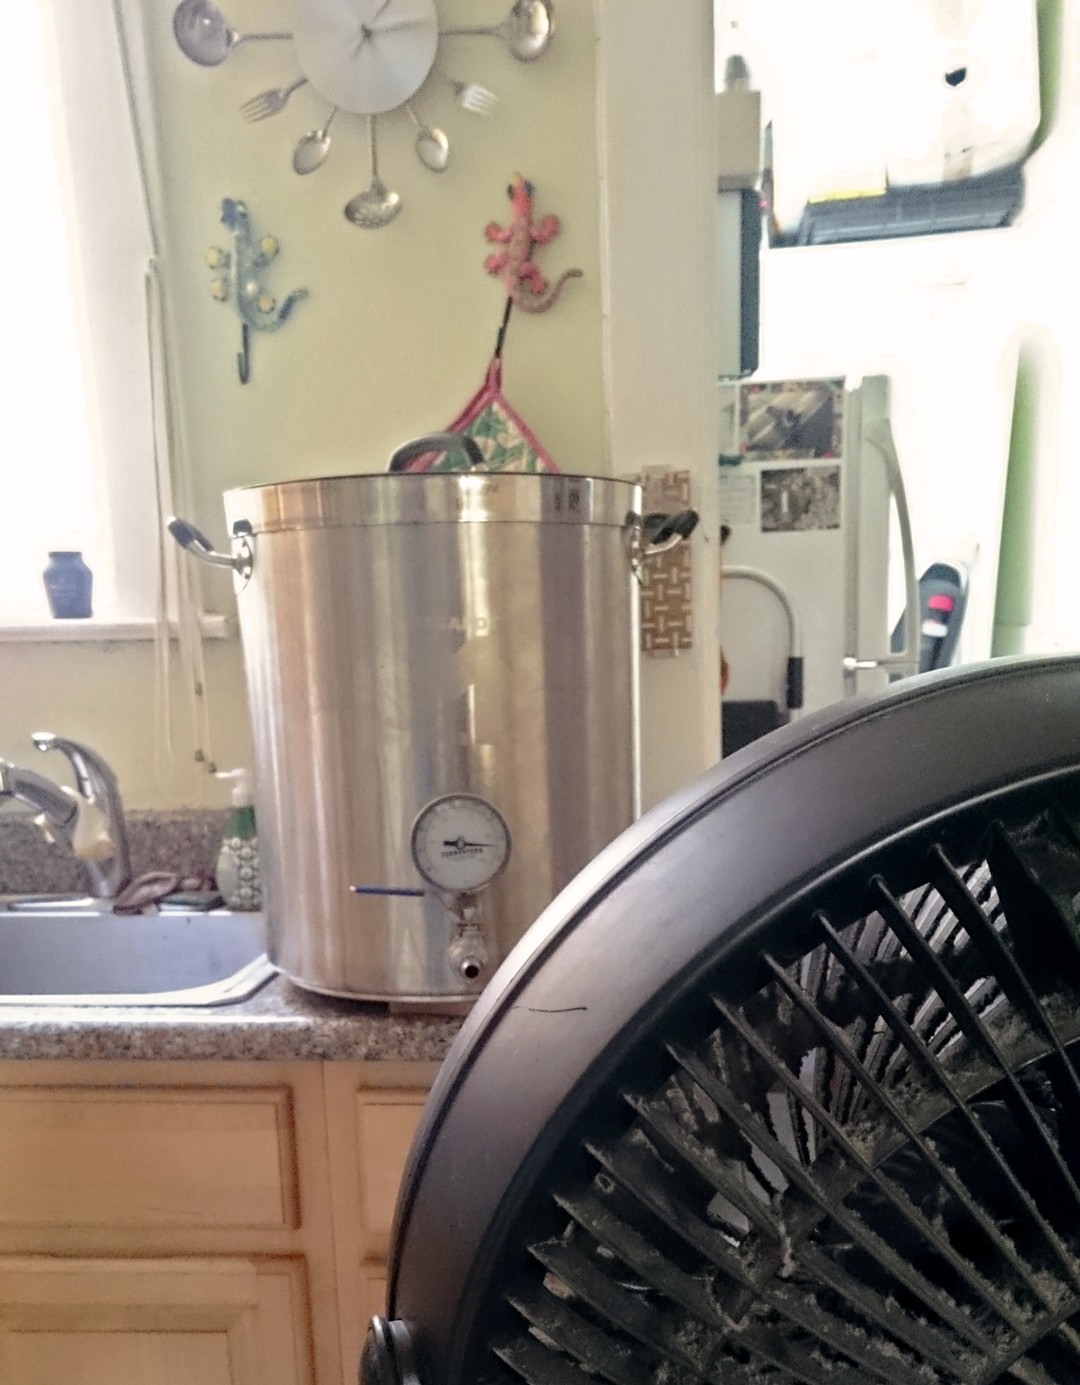
If you have the gear, now’s the time to attach your false bottom to your pot (yes, before the water’s near boiling).5 Otherwise, get your cracked grain (you remembered to get the beer store to crack your grain, right?) in grain socks and ready to pitch.
False bottoms are the bomb.
Step 2 – Mash
Bring 5 gallons of water up to 163°F mash temperature, then add all the grains (if no false bottom, toss in the grain socks, if you have one, then just pour the grains straight in the pot), stir, then cut the heat off and put on the lid. Mash while keeping the lid on to maintain temperature for 120 minutes.

Go, enzymes, go!!!
Temp after grains mixed in and heat cut off: 158°F
Temp after 120 minutes: 144°F
Mash efficiency: 75%
This (somewhat unusual) reverse step-mashing process gets the alpha amylase enzyme conversion of starch to sugar going early on (at the higher end of the scale, between 154°F -160°F) and the beta amylase enzyme working at the end of the mash (131°F -150°F).
While your grain is mashing, heat up 2.5 gallons of sparge water to about 190°F. Batch sparge (aka “English sparge”) in two batches, yielding about 6.5gal total runoff, recirculating each time you sparge.
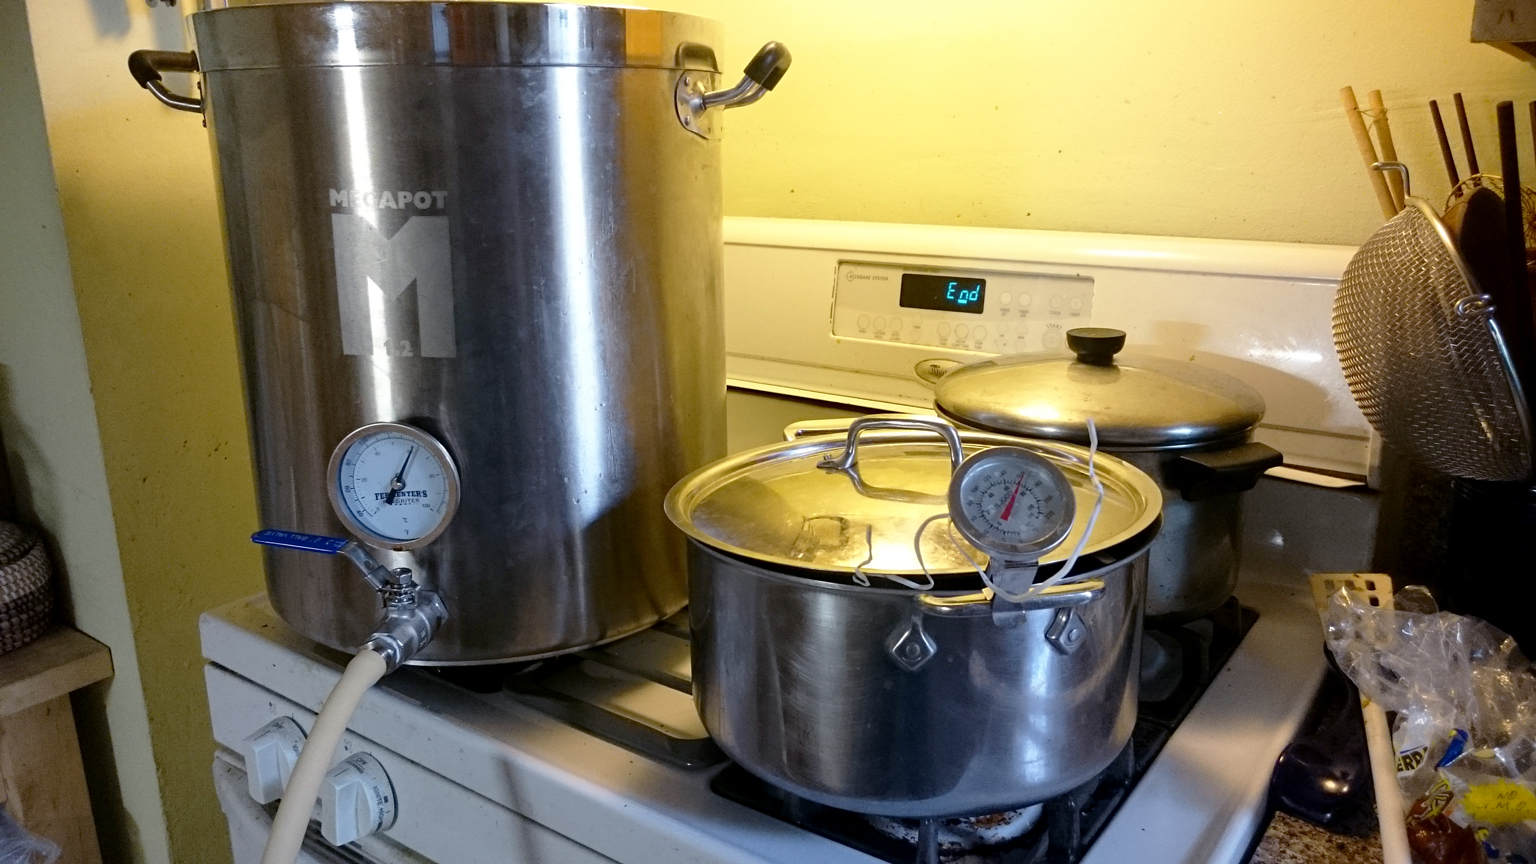
Heating up the sparge water while the magic happens in the big pot.
Step 3 – Sparge
My pre-sparging mash runoff gravity was 1.073, giving me a mash efficiency of 75%, which is right about normal for my setup. Here’s a handy tool to calculate your mash efficiency – http://www.brewersfriend.com/brewhouse-efficiency/
My boil gravity (after adding in the sparge water) was 1.047 (1.035 at 128°F), right about on target.
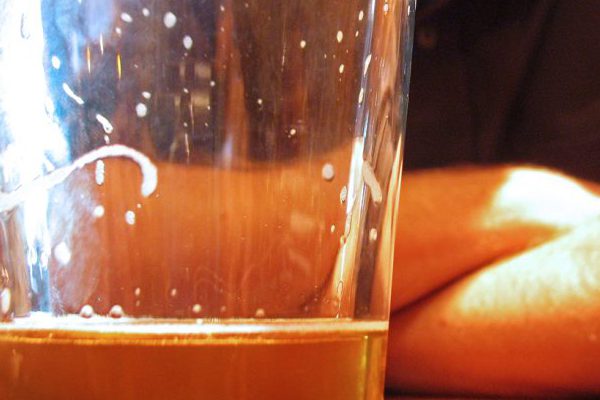
Runoff. Delicious runoff.
When you’ve used your sparge water up, start scooping out the grains (into a compost bag if possible, since the enzyme & mashed grain combo will act like rocket fuel for your compost).6 Once you get down to near the bottom (and the grain seems to have some liquid), toss it into a pasta strainer held over a pot first, to get the last of the wort out.

Spent grains.
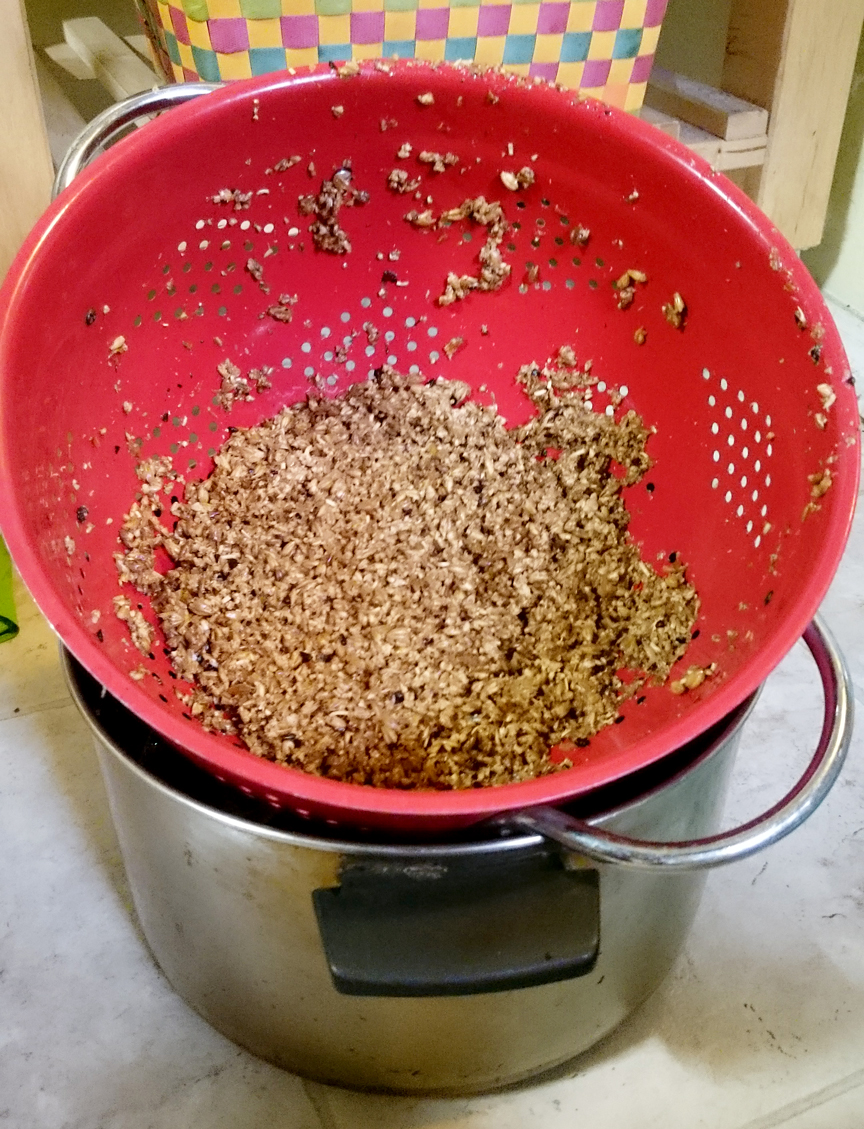
Waste not.
Step 4 – Boil
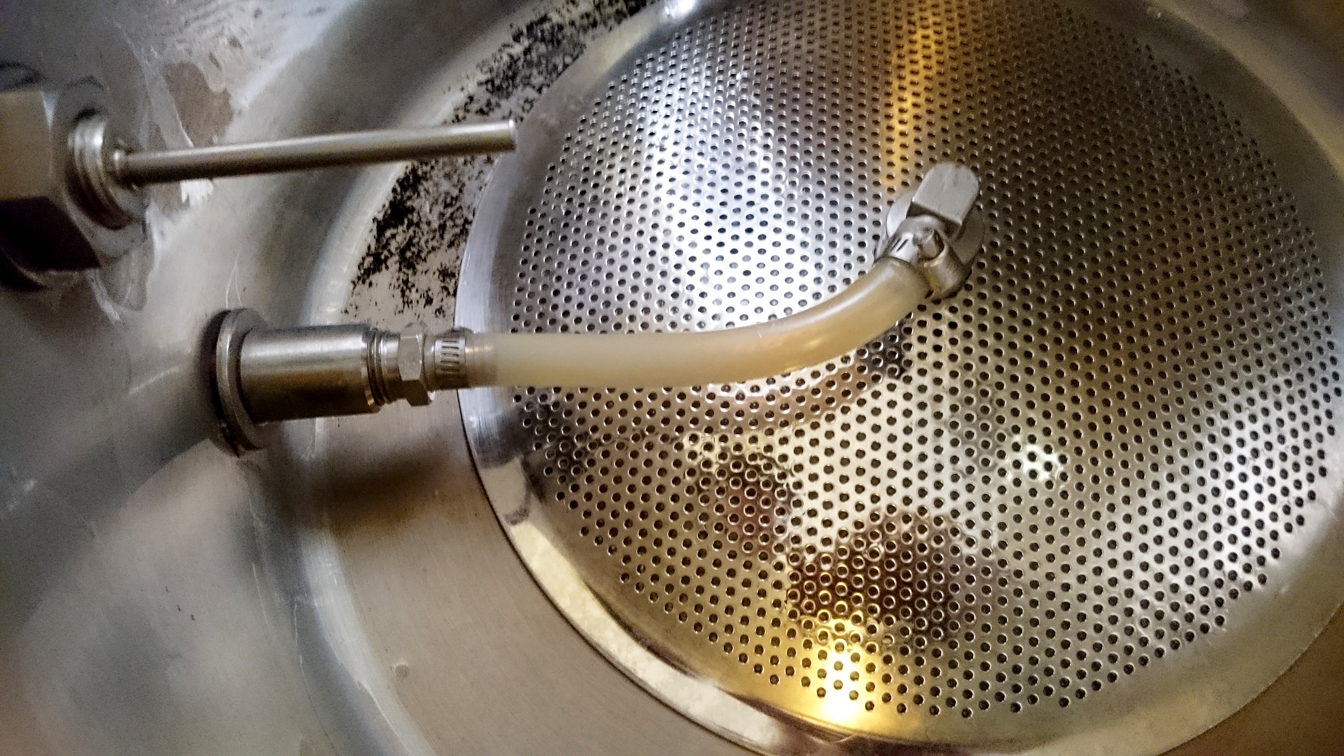
Give your kettle a quick wash (to get rid of any barley hulls left over), screw in your hop screen (if you have one. Otherwise, put your hops in little hop bags or tea balls),then put your wort back in.
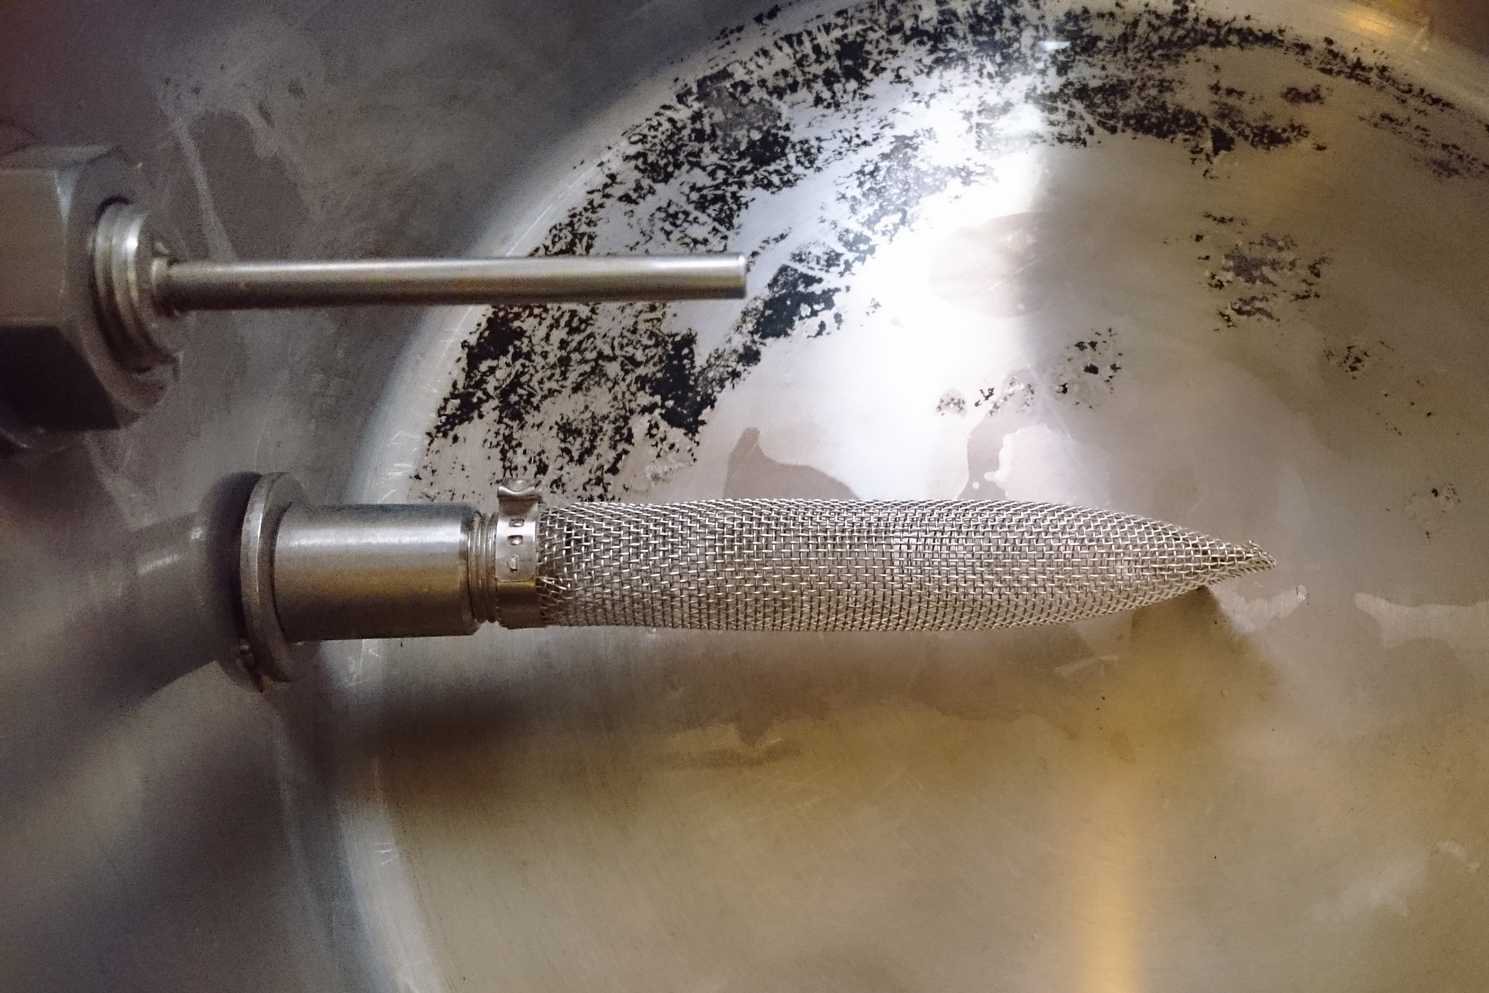
Hop screen
Heat to a simmer, then hold the temp for your boil.
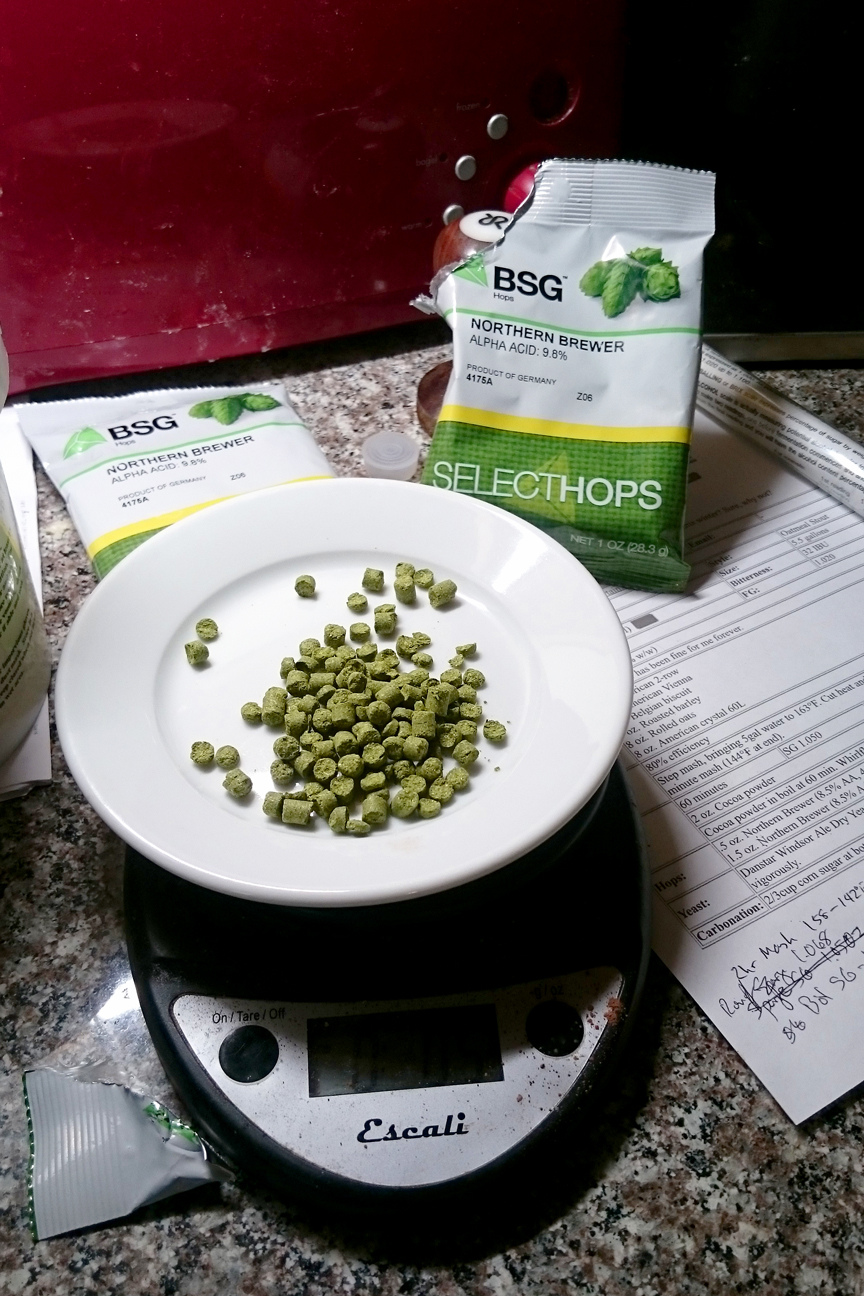
Hops have been weighed, measured, and found acceptable.
Boil steps:
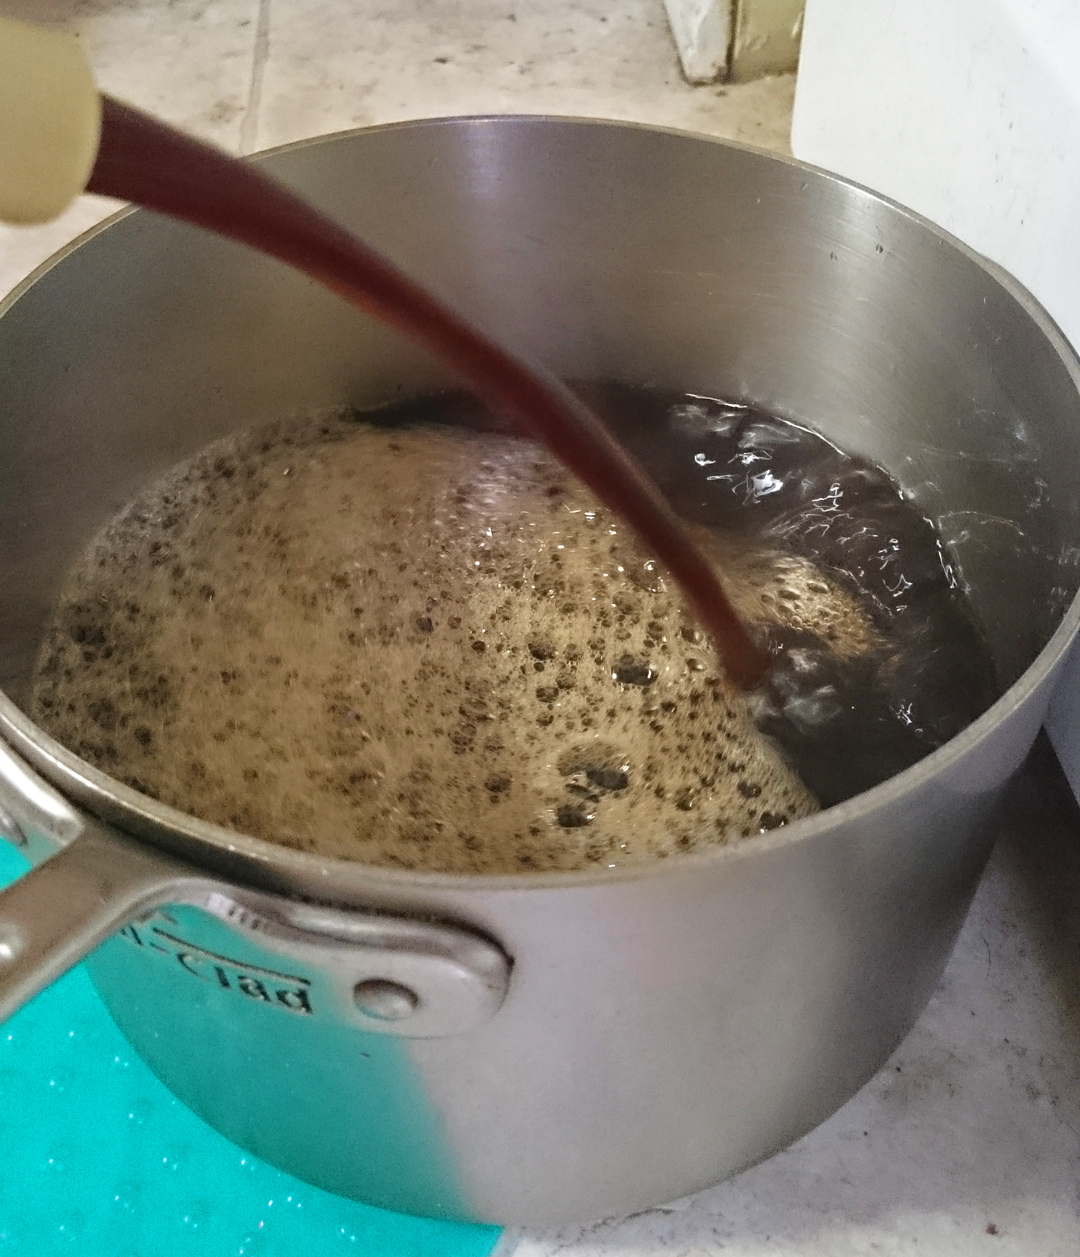
- At 60 minutes (counting down, so right when you start your timer), add the cocoa.
- At 45 minutes (15 minutes later), add ½oz of hops.
- At 15 minutes, add a Whirlfloc tablet or 1tsp Irish Moss for clarity (so, after 45 minutes have passed). This causes many of the suspended solids (barley and oat insoluable solids, hop leaves, etc) to clump and drop out of your beer in fermentation, allowing you to siphon off the good stuff.
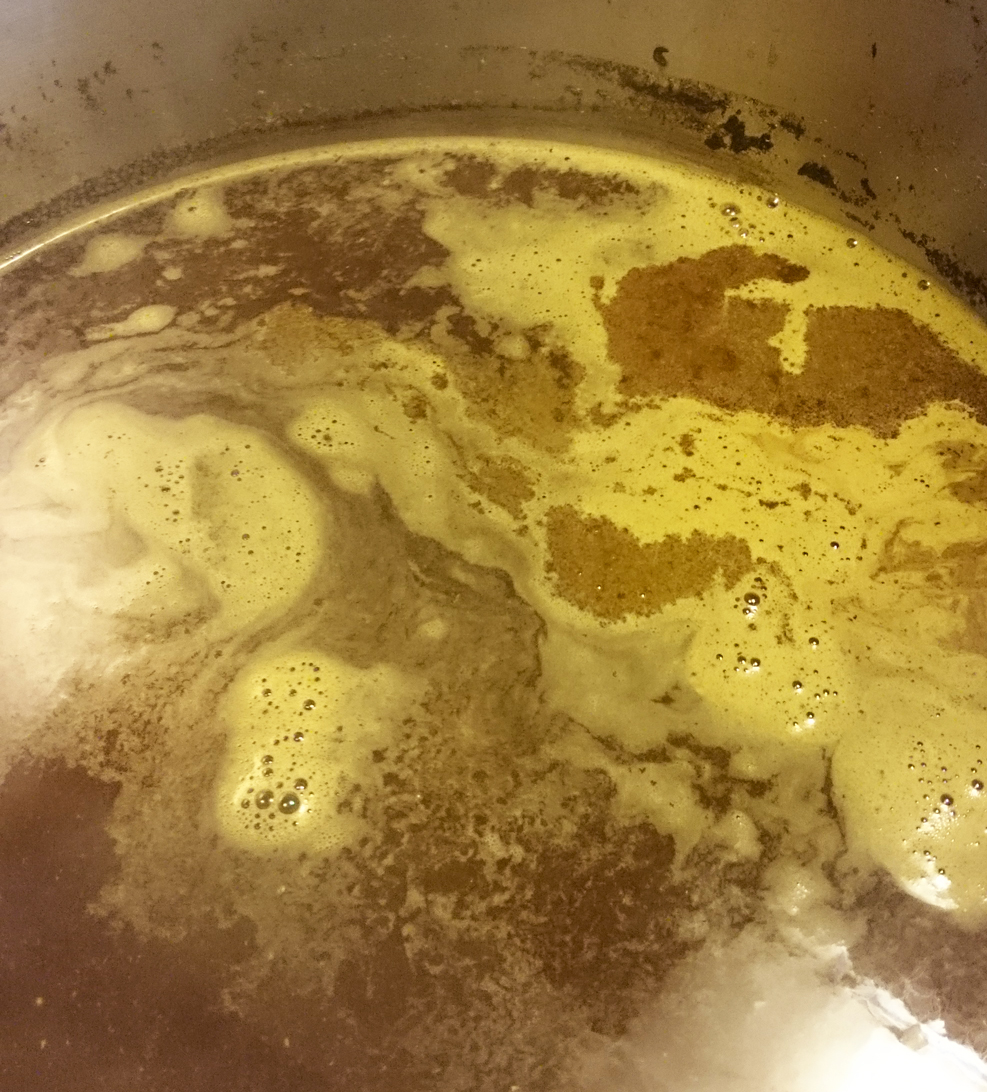
Double, double, toil and trouble. The greenish stuff on the top is hops.
Step 5 – Cooling
Once your timer goes off, cut your flame and allow to cool with the top on and a fan blowing at it to create convection (or use a wort chiller) down to about 90°F. Encourage this cooling by either using a wort chiller (like a pro) or sticking a fan at it and going away for several hours (like me, an amateur).
High-tech cooling system.
Step 6 – Exterminate! Exterminate!
IMPORTANT: EVERYTHING FROM THIS POINT THAT TOUCHES THE WORT MUST BE STERILIZED. Before this point, the impending boil meant that you just needed to use clean materials, and sterility didn’t really matter. Now, it’s Laboratory Time™, and the only microorganism that should enter your experiment is your brewers’ yeast. One-step is the best. One-step is your friend. Know One-step. Love one-step. Again, anything that touches the brew needs to get washed in sanitizing solution from this point. Whisk, hydrometer, tubing, your hands, the outside of the yeast packet. All the things.
Make up a gallon or so of sterilizing solution, then take a paper towel and the solution and sterilize your fermenter, lid, beer thief (hydrometer tube), airlock, strainer, and all the stuff in the paragraph above.
Step 7 – Rack to primary fermenter
Attach your tubing to the kettle and place your strainer over the primary fermenter (the plastic one). Run the wort through the strainer and then into the fermenter, dumping out the hop mush that collects in the strainer.
Add the yeast, and oxygenate the wort with a (sterilized) egg beater to help kick-start the yeast. This should create a healthy froth on top of the wort.
Check your specific gravity (it should be around 1.056, depending on your mash efficiency), then stick in your alcohol-filled airlock and seal up the lid. Yes, you have an actual use for that leftover bottle of Everclear from college. It kills braincells and foreign bacteria trying to invade your beer.
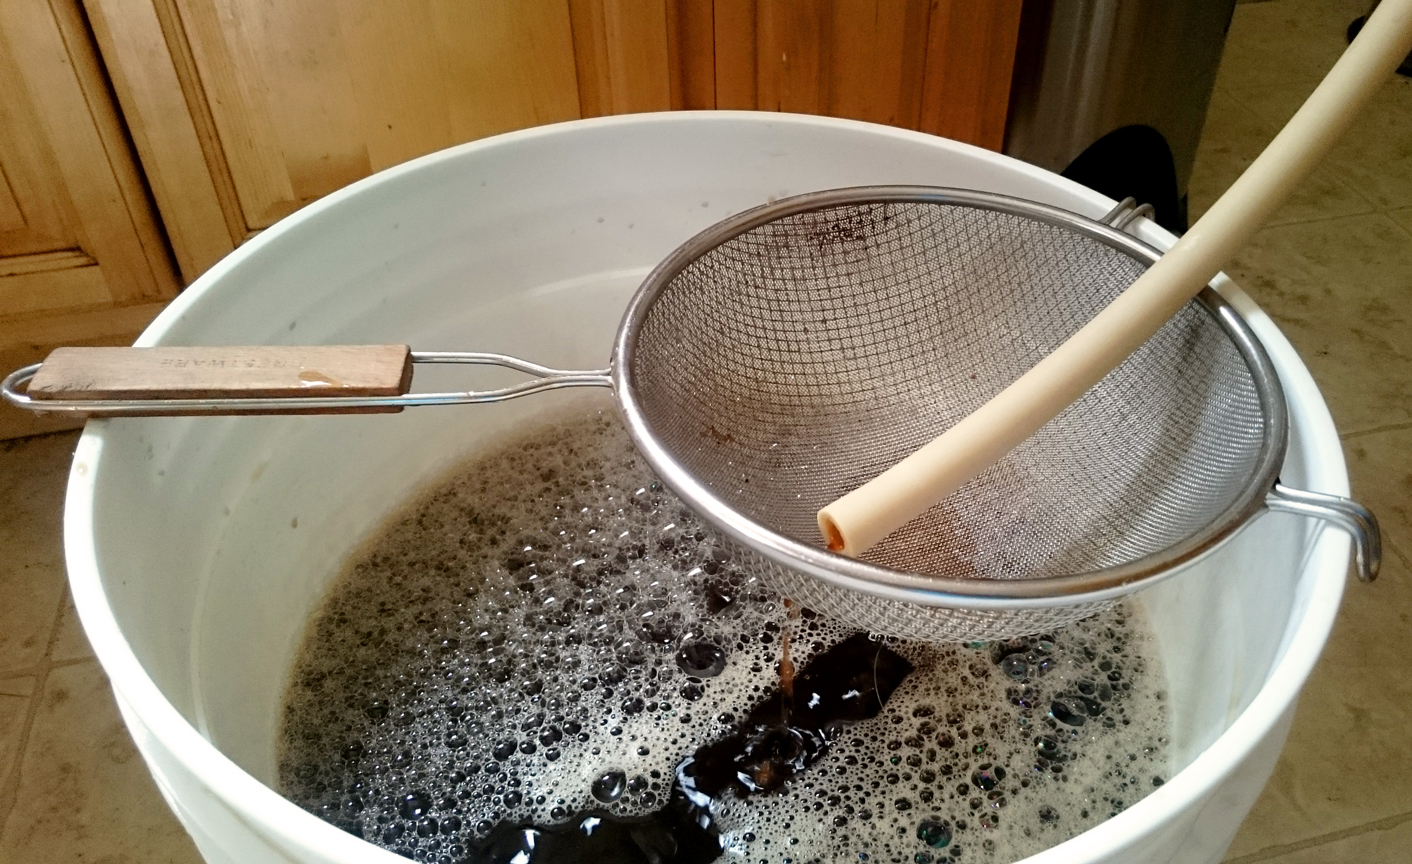
Soup strainers come in handy.
Step 8 – The Waiting Game
Store your fermenter somewhere at average-to-above-average room temperature, out of sight and out of mind. Shoot for a temperature from the mid 60s to the low 70s (I stick it in our kitchen alcove next to the fridge, which keeps the temp pretty stable). Do NOT stick it in direct sunlight. UV rays will kill your yeast, dead yeast means no alcohol, no alcohol means no beer, and no beer makes the world sad.
Things should start bubbling within 24 hours. Usually after around 12.
Out of sight=out of mind.
Step 9 – Fun with siphons
Rack to secondary between days 7 and 10 after adding your yeast, after off-gassing has slowed to almost nothing (indicating fermentation has slowed). SG should be around 1.022-1.028.
This is a settling phase, where your beer will age nicely, smooth out the flavors, and most of the yeast, barley solids, and hop solids will sink to the bottom in a delightfully named ooze, the “trub”. The heavier your beer is, the longer this should take. Since we’re starting with a porter, it’ll take awhile.
To rack to secondary, you siphon off all of your beer from the primary fermenter, holding the bottom of the siphon above the level of the trub without stirring it up. To control my siphon depth, I actually take a spoon (usually a small one like an espresso spoon) and rubber band it to the siphon, creating a ledge so that it rests nicely on the lip of my fermenter at the proper depth. Rookies: siphoning will take some practice, and you’ll just have to deal with it. Never, ever, ever, ever siphon with your mouth like you see on TV. Yuck. Fill up your siphon with one-step, seal off one end of it, insert in beer up on a kitchen counter or something, then start the flow down to a pitcher or pot on the floor. Once the one-step is cleared out, re-seal, transfer end to your secondary fermenter (usually a glass carboy), and let ‘er rip.
Step 10 – The Waiting Game, Part II
Leave alone in secondary for 6-8 weeks, in the same place where you stuck your primary fermenter.
Step 11 – Bottling
This will probably take 1-3 hours, depending on how practiced you are.
5 gallons of beer will usually yield around 50-55 bottles of delicious beverage. Wash that many bottles in hot water, then roll around in a whole lot of sanitizer (the primary fermenter is the perfect size for this). Make sure it washes the inside of the bottles, as well.
Boil 1 cup of water and add ⅔ cup of bottling sugar to it. Once clear and dissolved, allow to cool. Add to your bottling bucket (which has been sanitized, of course). Siphon your beer out of secondary and into your bottling bucket, using the same spoon technique as above to keep the bottom of the siphoning wand out of the trub at the bottom. Boil your bottle caps for 1 minute in water, then set aside (still in the water).
Using your bottling wand, fill up each glass with beer, just to the bottom of the neck. Repeat, until you’re out of beer. You can either cap as you go or do it all at the end. I just use a small hand capper. That guy’s lasted me a good decade, with no problems. I usually label my beers by simply writing something in sharpie on the bottle cap (“Prt” for “Porter”, “I” for “IPA”, etc).
Step 12 – The Waiting Game, Part III
Put the bottles in cases, close them, and hide them far, far away from you.
Try to ignore for 2-4 months before drinking (the best way to do this is to have other beer stored closer to your grabby hands to distract them). Several months of bottle conditioning will be pretty key in making this beer mellow out, but it’ll be worth the wait.
Step 13 – Drunken revelry
If you are like most people around here, you already know how to do this step.
Enjoy!
Notes:
1 But also because of that.^
2 The fact that there are Wikipedia articles about all of those terms only proves that multiple people are equally credulous. Your tongue says the pictures are photoshopped, no matter how much you protest and try to point out the etymology of sparge, and you can’t convince it otherwise.^
3 Graduate school involved a lot of drinking and not a lot of salary, so making my own was the logical choice.^
4 Hypothetically, you could even spend it writing an article for the masses to read on the Internets. Or doing some chores around the house. Or making morally questionable decisions about aggressive interrogation techniques, vengence, and laying waste to hordes of Uruk. Your choice.^
5 I absolutely, 1000% believe and opine that I have never forgotten to do this. #truthiness^
6 If you bake, save a couple cups! A cup of this as part of a wheat bread dough makes a deliciously soft and nutty spent grain bread.^
No Comments on "Microbial Experiment Log: Nutty Professor Oatmeal Porter"