By: Patrick W. Zimmerman
It’s heating up across much of the country (except, of course, San Francisco, where June and July are cold and windy. Because of course it has to be different.), so that means it’s time to go a little bit lighter in our brewing! Light-er, not “light” in the macrobrew sense of the word meaning “tasteless.” We’re talking about body (viscosity, more than anything), and mean relative lightness compared to, say, the Nutty Professor Oatmeal Porter.
So, why Softball Saison? Because nothing says day-drinking outside like rec. league softball.

Putting the “beer” in beer league.
The recipe
Style: Saison with coriander, black pepper, and orange zest
Type of brew: All-grain
- Batch size: 5.5gal
- Bitterness: 24 IBU (mildly hoppy)
- Original Gravity: 1.051
- Final Gravity: 1.004
- ABV: 6.0%
Grain bill:
- Belgian pilsner: 9lbs
- Belgian munich: 2lbs
Hops:
- Saaz: 2oz
Boil additives:
- 1 Whirlfloc tablet
- 1 orange peel (no pith)
- 1oz coriander seeds (whole)
- 1oz black peppercorns (cracked)
Yeast:
Mash volume:
- 5gal
Mash time:
- 120 minutes
Boil volume:
- 6.5gal
Boil time:
- 60 minutes

Illustrated step-by-step instructions
(Skip if you just need the recipe above, read on if you’re not a pro at this)
Standard note: This is going to be rather similar to other entries in this series, as the basic process of brewing does not vary a whole lot from beer to beer. The major exceptions are for sours (which I occasionally do) and lagers (which are a gigantic pain in the butt and I almost never do). Thus, the below guide is aimed at people who are relatively new to brewing, maybe just now starting out with all-grain brewing.
For anyone doing an extract brew, the instructions below are basically the same, just skip the mash (steps 2-4) and go straight to heating your boil water.
Partial mash brewers will do all the steps, but use less grain (for probably an hour rather than 2 hours) in the mash step (step 3) and less water (probably 2-3 gallons rather than 5). Use 1 gallon of sparge water rather than 1.5, and the extract will go in the boil stage (step 5). How much less grain you use depends on how “partial” your mash recipe is and will vary a fair amount from recipe to recipe.

So many choices in the yeast fridge
- Block off your calendar
- As usual, get some time free and a playlist ready. Brewing ≠ something you do when you have a spare hour. It’ll take a few hours plus a lot of cooling down time. Embrace the slow reality. Have a drink. Chill.
- Prep
- Attach your false bottom to your pot.
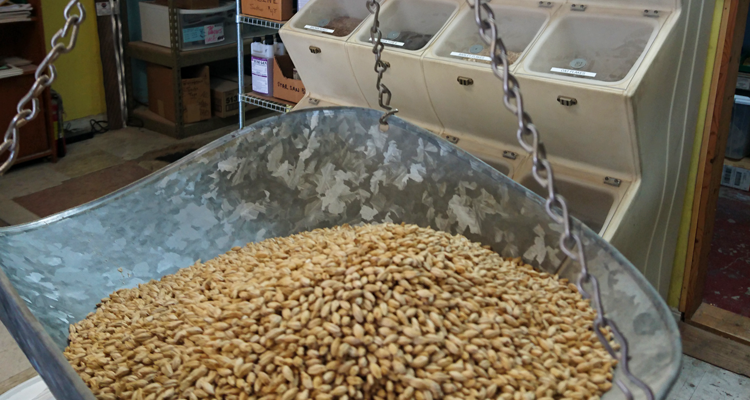
- Get your (already) cracked grain ready to pitch. If not using a false bottom, get them ready in beer socks and tie those off.
- Fill your mash tun with 5 gallons of cold water and stick over 2 burners. Make there be fire.
- STOP. DUMMY CHECK #1: Is my false bottom in before I heat up the huge amounts of scalding water? Yes? Good.
- Mash
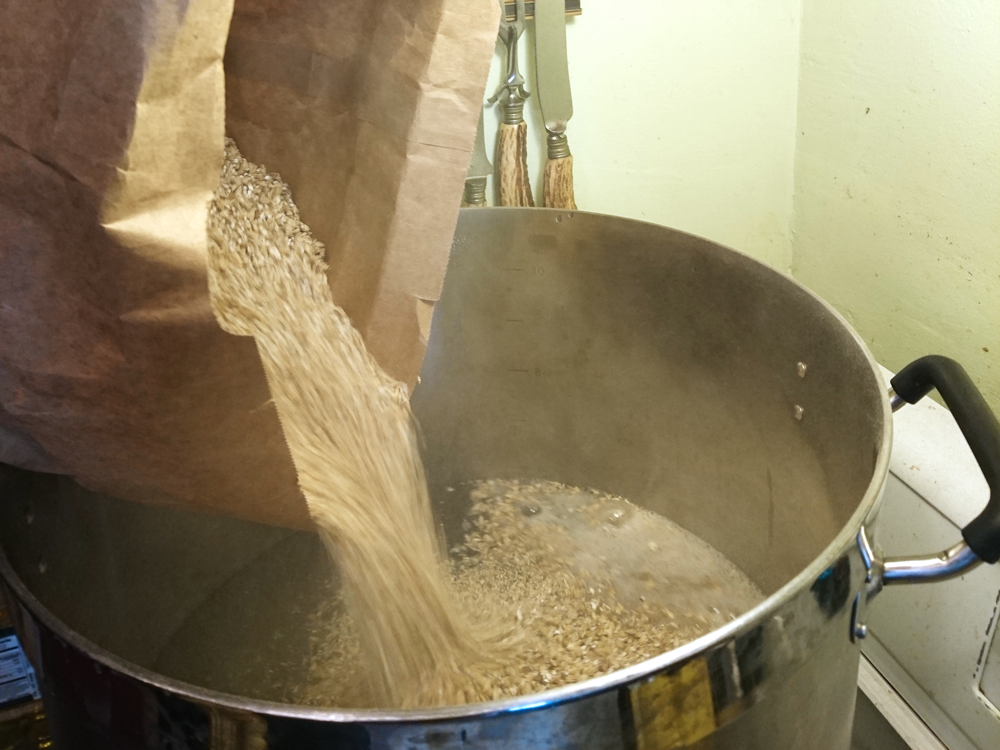
- Once your water temp is up to 170°F (just above the 163°F you’ll want to start your mash at), then add all the grains (if no false bottom, toss in the grain socks, if you have one, then just pour the grains straight in the pot), stir, then cut the heat off and put on the lid. The room-temperature grains will drop the temperature of the mixture from 5-10°F (which is why we slightly over-heated it). Let the grains mash and your enzymes break down those sugars for 2 hours.
- Go chill out for awhile. Repeat after me: “Brewing is for someone in a hurry. Impatience leads to shitty beer.”
- Halfway through your mash, start heating up 2 gallons of water to 170°F.

Time to pitch the grain! - Sparge
- Once your sparge water is at temp, it’s time to wash all that delicious wort off your grains. We’re going to batch sparge (aka “English sparge”) in two batches, yielding about 6.5gal total runoff, recirculating each time you sparge (I usually lose about a half gallon of liquid in the grains, so 5 mash + 2 sparge = 6.5 boil volume).
- My pre-sparging mash runoff gravity was 1.062, giving me a mash efficiency of 70%.
- Boil gravity (after adding in the sparge water) was 1.043 (1.033 at 124°F), right about on target.
- If you’re using a false-bottom pot with a valve, scoop out your grains once you’ve finished using all the sparge water and drained the pot through the runoff hose (as the valve is never on the very bottom of the pot, there will be some liquid you can’t salvage this way. Once you get down to near the bottom (and the grain seems to have some liquid), toss it into a pasta strainer held over a pot first, to get the last of the wort out.
- This spent grain is fantastic to use in spent grain bread, if bake at all. The ratio is usually one cup of spent grain to 3 cups of flour (whole wheat, white, or a mix), plus 1.5 cups water, salt, and yeast in a modification of a pretty normal pan au levain recipe.
- If you don’t bake, give the grains to someone who does.
- If you don’t know anyone who does, go meet some more interesting people. And the grains are like rocket fuel for your compost, so you can do that, too.
- Boil
- Wash out your kettle and replace the false bottom with your hop screen (if you have one. Otherwise, put your hops in little hop bags or tea balls).
- STOP DUMMY CHECK #2: How about the hop screen? Is it in before I pour in the hot-as-hell wort?
- If you’ve passed the dummy check, then pour in your 6.5 gallons of wort to the pot.
- Heat to a simmer, then lower the flame to hold the temp for your boil time (in this case, an hour).
- At 60 minutes (counting down, so right when you start your timer), add all your hops (2oz).
- At 15 minutes, add the zested peel of an orange (as little of the white pith as possible), 1oz of cracked black peppercorns, 1oz of coriander seeds, plus a Whirlfloc tablet or 1tsp Irish Moss for clarity (so, after 45 minutes have passed).
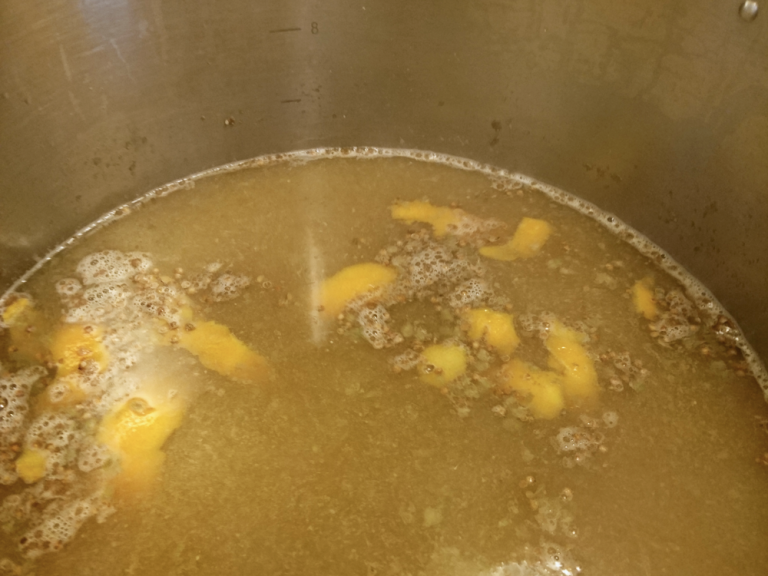
The last 15 minutes of boil, with orange zest, coriander, black pepper, and whirlfloc. - Cool your wort
- Cut your flame and allow to cool with the top on and a fan blowing at it to create convection (or use a wort chiller).
- You’ve got to get it from 212°F down to about 90°F, so remember that this can take several hours if you don’t have a nearby snowbank to stick the pot in. Which I haven’t had since I lived in Pittsburgh a long time ago in a galaxy far far away.
- Sterilize
- Important warning: Everything that touches the wort from this point on must be sterilized, you dirty, dirty walking bag o’ germs! Up to here, the impending boil meant that you were mostly worried about dirt, not microbial contamination.
- Now begins Laboratory Time™, which means the key to good homebrewing is to make sure that one and only one microorganism is cultivated in your wort, your brewers’ yeast.
- I say this every time, but one-step is your friend. Know One-step. Love one-step. Wash all the things in your sanitizing solution. Whisk, hydrometer, tubing, filter, your hands, the outside of the yeast packet. All the things. If you really want to get serious about sanitizing, you can also use a phosphoric acid-based sterilizer like Star San.
- Make up a gallon or so of sterilizing solution, then take a paper towel and the solution and sterilize your fermenter, lid, beer thief (hydrometer tube), airlock, strainer, and all the stuff in the paragraph above.
- Find some other random stuff and sterilize that to be safe.
- Rack to primary fermenter
- Once you get your temp down to well below 100°F, run the wort through your runoff tube and through a soup strainer (or other fine mesh) and then into the fermenter, dumping out the hop mush that collects in the strainer. Hop screens will get much of this, but I like to double-screen it.
- Pitch your yeast, and oxygenate the wort by whipping a (sterilized) whisk. This should create a healthy froth on top of the wort.
- Check your specific gravity (it should be around 1.051, depending on your mash efficiency), then stick on your fermenter lid and an alcohol-filled airlock. I tend to use whatever the strongest, cheapest clear booze I have in the liquor cabinet. So, Everclear or vodka.
- Don’t ask why I still have Everclear and I’m not in college. Don’t judge.
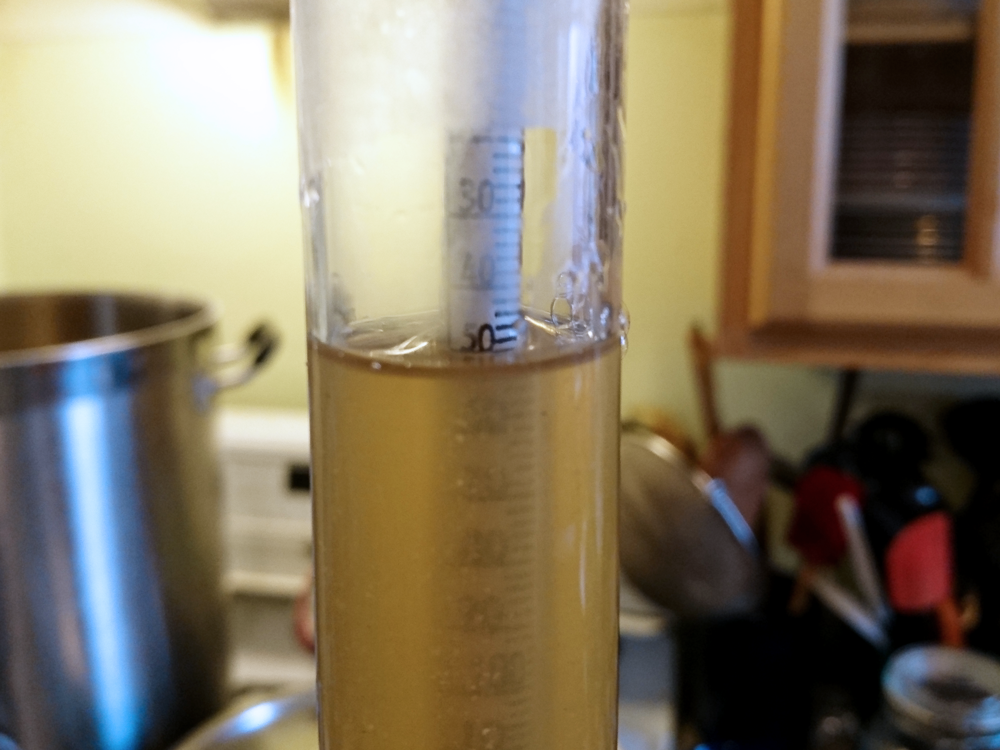
Hydrometer reads 1.050 (look for the bottom of the meniscus, the curve, to properly read a graduated cylindar). - Primary fermentation (7-10 days)
- Store your fermenter somewhere out of sight, at room temperature (unless your place gets cold, in which case put it near your fridge, which should keep the heat up). Shoot for a temperature from the mid 60s to the low 70s. Do NOT put it in direct sunlight, even if using an opaque plastic primary, because UV rays will kill your yeast and denature your precious alcohol.
- Remember, UV rays = dead yeast = no alcohol = drinking barley tea = tears
- Things should start bubbling within 24 hours. Usually after around 12.
- Rack to secondary fermenter
- You can move the beer to secondary any time after off-gassing has slowed to almost nothing (indicating fermentation has slowed). SG should be around 1.005, depending on how active your little yeasties got.
- An hour or more before you siphon, stick your primary fermenter somewhere elevated, like your kitchen counter. Siphoning relies on gravity (mostly, sometimes), so…. Yeah.
- Make up more sanitizing solution (half gallon to a gallon) and sanitize your beer thief, hydrometer, siphoning wand, and tubing, as well as a bung, your glass secondary fermenter (pour some in, swish around a lot, pour out), and, as before anything else that will touch your beer, including your little science experiment hands.
- Yes, it’s beer now, not just wort. ::applause::
- Attach your tubing to the bent end of your siphoning wand, and fill with sanitizing solution. Cinch the free end of the tubing.
- Insert the other end of your siphoning wand into the beer until it’s maybe 2 inches above the bottom, and make sure it stays at that height. A good way to do this is to take a rubber-band something like a spoon to the siphon rod to create a ledge or hook on the rim of the primary fermenter; you can slide it down as needed to make sure that the end of the siphon stays at the correct level.
- Stick the free end in a glass or something with sanitizing solution in it at floor level, and uncinch the tubing until the siphon and tube fills up with beer (and the sanitizing solution is all out in the cup. Re-cinch.
- Put the tubing in your secondary fermenter (probably a 5gal glass carboy), and let ‘er rip.
- While siphoning, the key is to keep the bottom of the siphoning wand below the (dropping) surface of the descending beer but above the trub, which is the (pretty nasty) mixture of dead yeast cells, barley solids, and hop fragments that has sunk to the bottom of your primary fermenter. It is pretty much also the major reason for this entire siphoning step; you’re separating the beer from the trub.
- When you get close to done, you can probably get away with tilting the primary a bit to get that last layer of (less dense) beer off the top of the trub. Assume that there will be at least a half gallon’s worth of trub, which is why you ferment 5.5 gallons but only expect to use a 5 gallon carboy for secondary fermentation.
- When it’s done, pop in the rubber bung and put in your airlock to seal it all up.
- Secondary fermentation
- This is a settling phase, where your beer will age nicely, smooth out the flavors, and the last of the yeast, barley solids, and hop solids will sink to the bottom in a (much thinner layer of) trub, just like in the primary.
- The heavier your beer is, the longer this should take. Since we’re brewing an ESB, I gave this one 3 weeks in secondary.
- Leave alone in the same place where you stuck your primary fermenter. Because glass carboys let in light (I know, right?), save the cardboard box it came in or whatever to use as a light shield. Cut a hole or a flap in the top of the box so your airlock can stick out.
- A properly sealed beer can stay in secondary for a very long time, sometimes up to a year (or longer for something like a sour or a stout, if you really want to). So, the time limits are usually set by your level of patience, not by any kind of expiration date.
- Bottling
- This will probably take 1-3 hours, depending on how practiced you are.
- 5 gallons of beer will usually yield around 52-56 12oz bottles of delicious beverage or 29-32 22oz bombers.
- Wash as many bottles as you think you’ll need in hot water, add two more, then roll around in a whole lot of sanitizer (the primary fermenter is the perfect size for this. Or use your mash tun or boil kettle.). Make sure it washes the inside of the bottles, as well, because sanitizing the outside of your bottles is of limited utility.
- Boil 1 cup of water and add ½ to ⅔ cup of bottling sugar to it. The amount varies on how much carbonation you want your beer to have, as this is the sugar that the remaining yeast cells in suspension are going to digest to create the CO2 for carbonation. If you over-do it, you get explosive beer bottles (they literally blow up sometimes). If you under-do it, you get flat beer.
- Once clear and dissolved, allow the solution to cool.
- Add to your bottling bucket (which has been sanitized, because you totally get this whole everything-needs-to-be-sanitized thing by now).
- Siphon your beer out of secondary and into your bottling bucket, using the same spoon technique as above to keep the bottom of the siphoning wand out of the trub at the bottom (and don’t forget to start by siphoning into a glass with sanitizer.
- Boil your bottle caps for 1 minute in water, then set aside (still in the water).
- Using your bottling wand, fill up each glass with beer, just to the bottom of the neck.
- Repeat, until you’re out of beer.
- You can either cap as you go or do it all at the end. I just use a small hand capper. That guy’s lasted me over a decade, with no problems.
- You can go super fancy and put labels on every bottle. Or you can be lazy like me and just label beers by writing something in sharpie on the bottle cap (“Sai” for “Saison”, “I” for “IPA”, “P” for “Porter” etc).
- Store your bottles in cases out of sight, because if you see them, you’ll drink them way too early. It’ll be beer, but you’ll be denying yourself better beer that you could have had later.

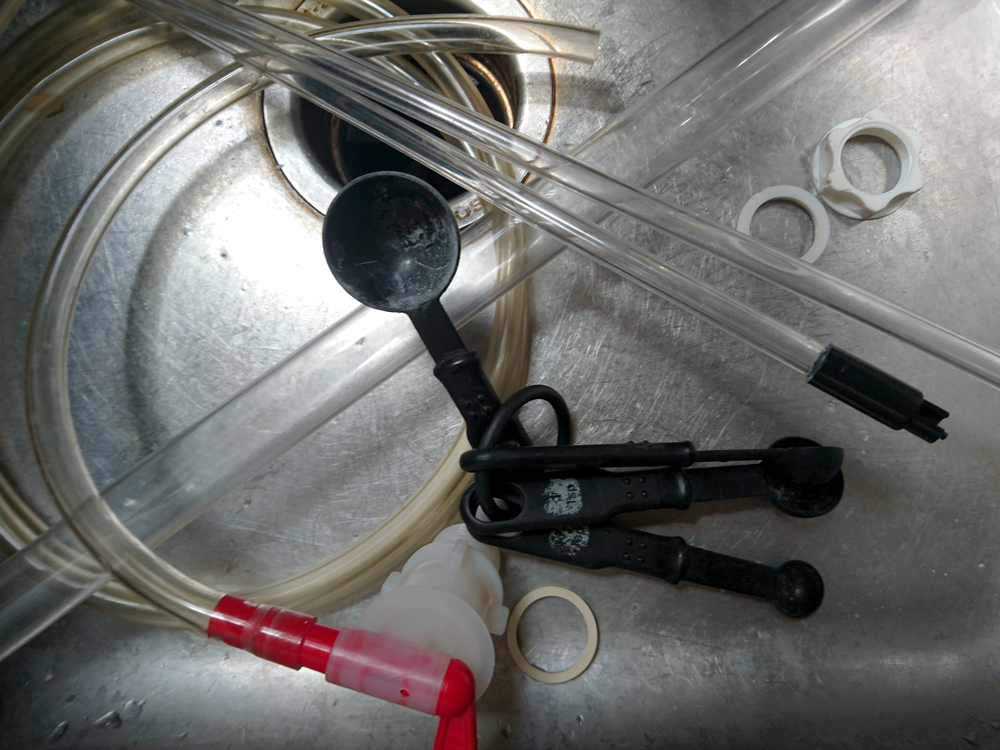
Bottling gear: bottling wand, siphoning and tubes, o-rings, and scoop for sterlizer. - Bottle conditioning
- Try to ignore these guys for about a month before drinking.
- The only proven way to do this is to store whatever your latest bottle is at the back of your storage area and pile other beer on the outside, closer to your hands and eyes.
- Drink
- You probably already are.
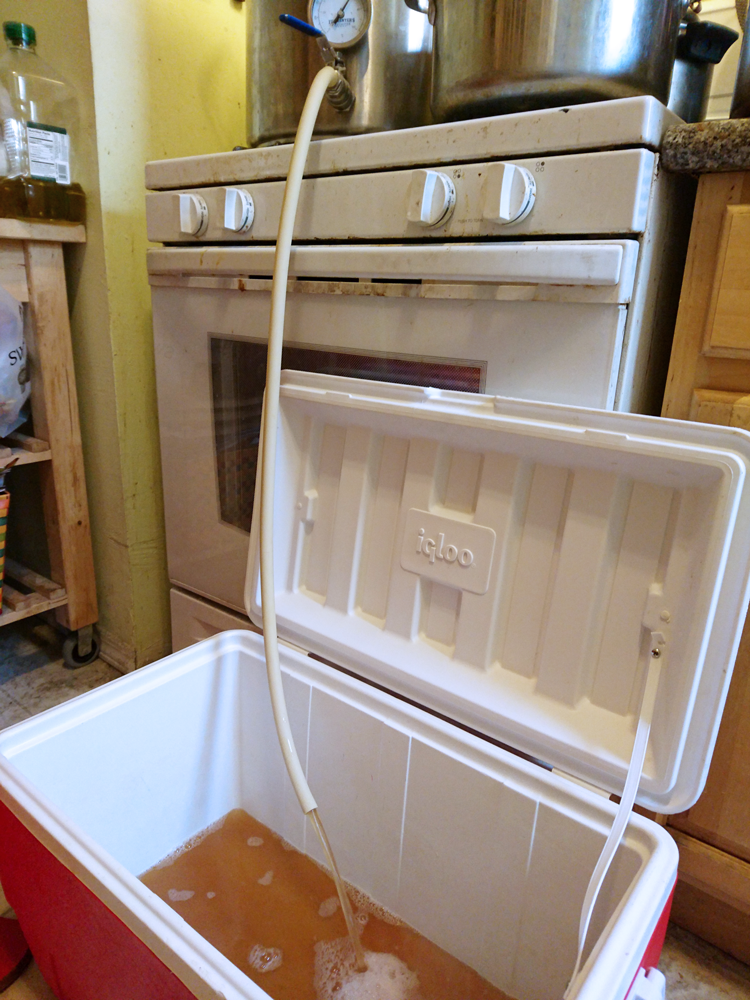
Sparge runoff setup into a big cooler.

No Comments on "Build-a-brew: Softball Saison"